Sending message to an individual customer
Digital Wallet > Left-Hand Menu > Push
-
Follow the above-mentioned workflow to land on the Send Push tab.
-
From the Card dropdown under Send Push heading, choose the card you want to send push notifications for. All the created cards are populated in this dropdown.
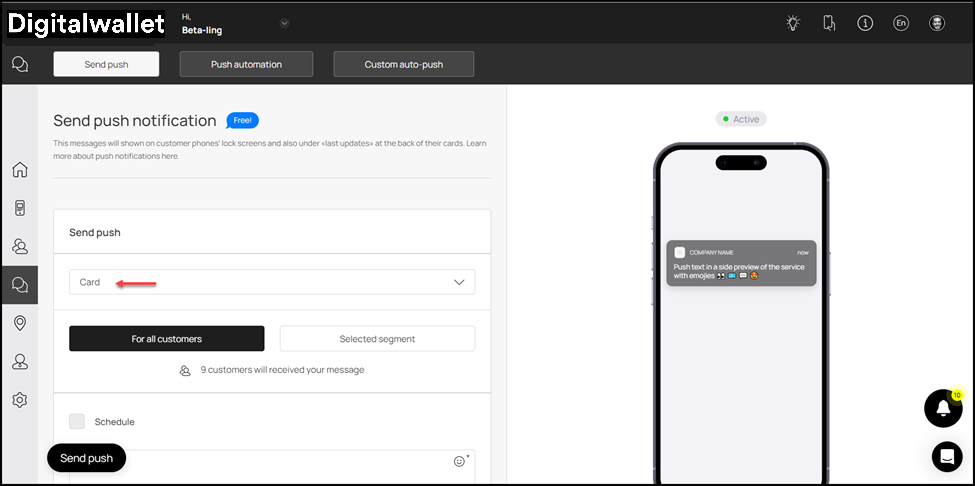
- By default, the For All Customers option is selected. It means that the push notifications will be sent to all customers having the selected card.
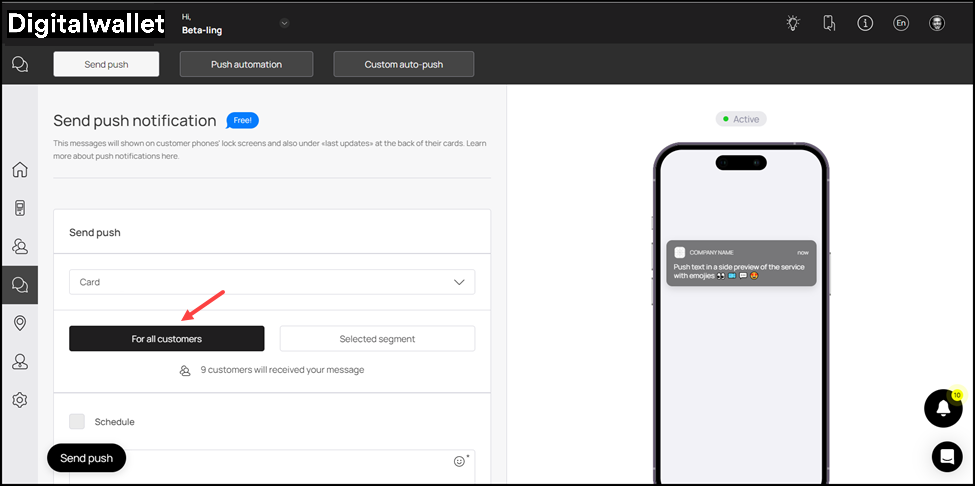
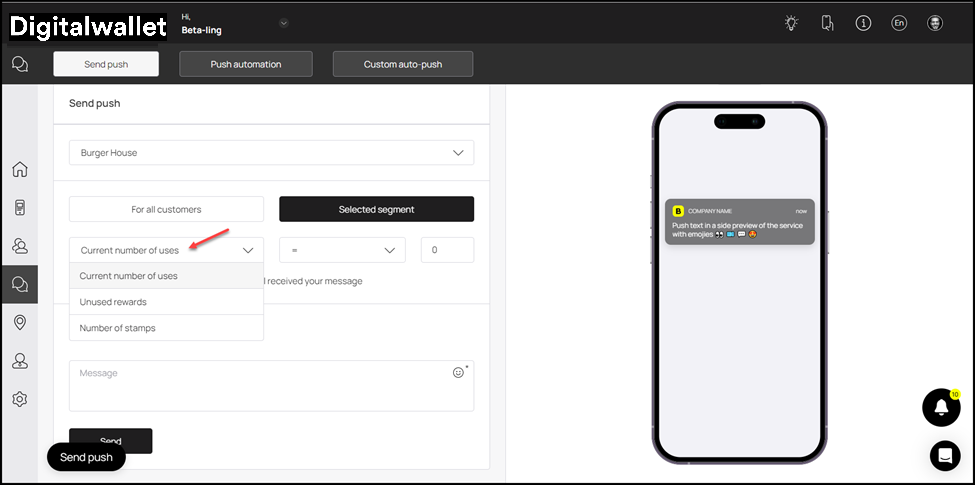
- To send push notifications to selective customers, click the Selected Segment button.
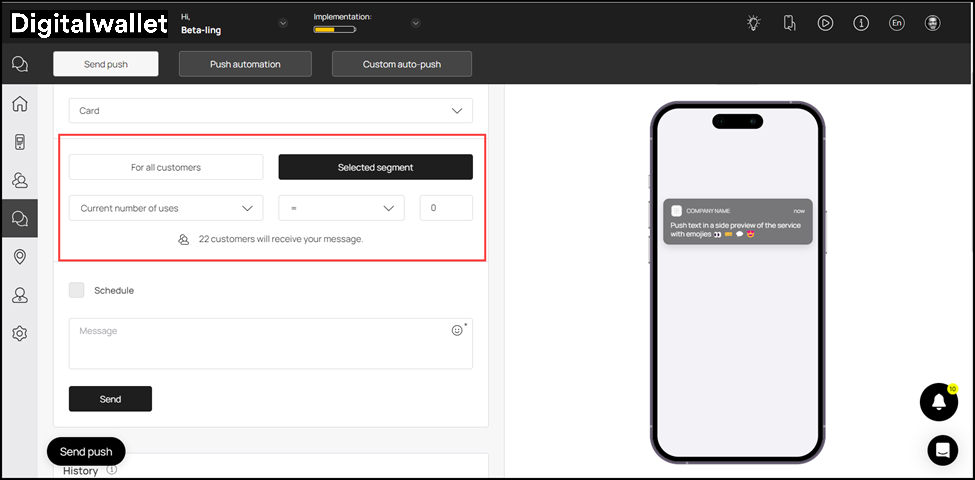
- This reveals another dropdown from where you can select a specific condition to define the segment you want to send push notifications to. The options include Current number of uses, unused rewards, and number of stamps.
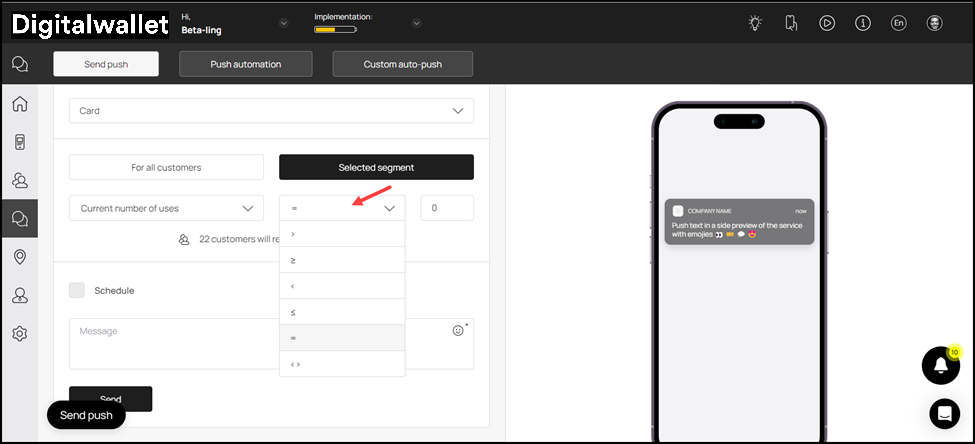
- The next dropdown lets you choose the operator on which you want to define the condition.
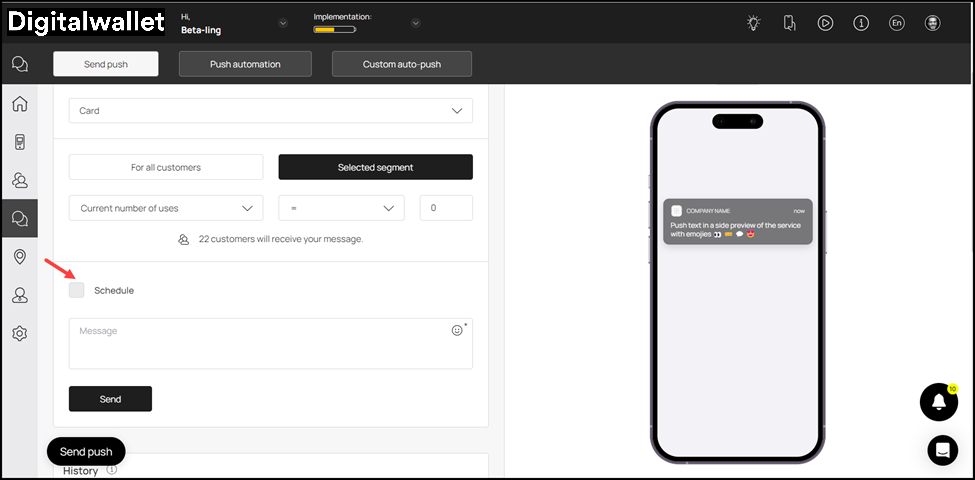
- At the end is the count field. Here, you can define the count of the defined condition. For instance, if you enter 4 in this field, it means that push notifications will be sent to the customers who have used the selected card exactly 4 times. Moreover, the number of customers falling in the defined criteria is also displayed below the dropdowns.
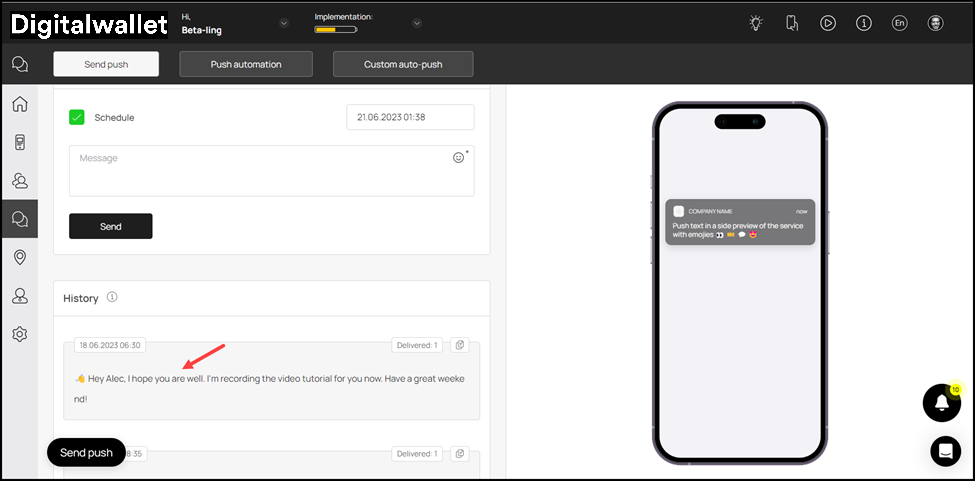
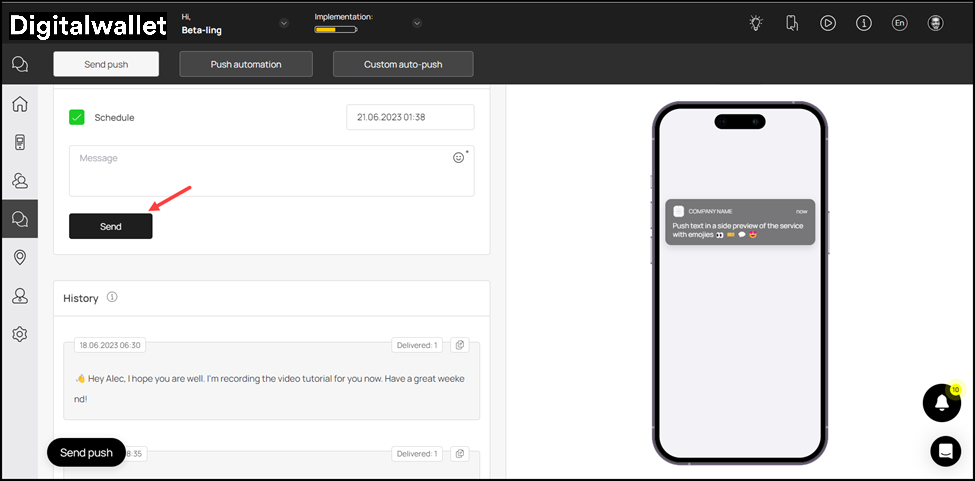
- Furthermore, if you want to schedule a push notification, mark the Schedule checkbox.
- This reveals a date/time selector on the right side. You can choose the date and time at which you want the scheduled push notification to be sent.

- Enter the message you want to send via the push notification using the Message textbox. You can also include smileys by clicking the
 icon.
icon.
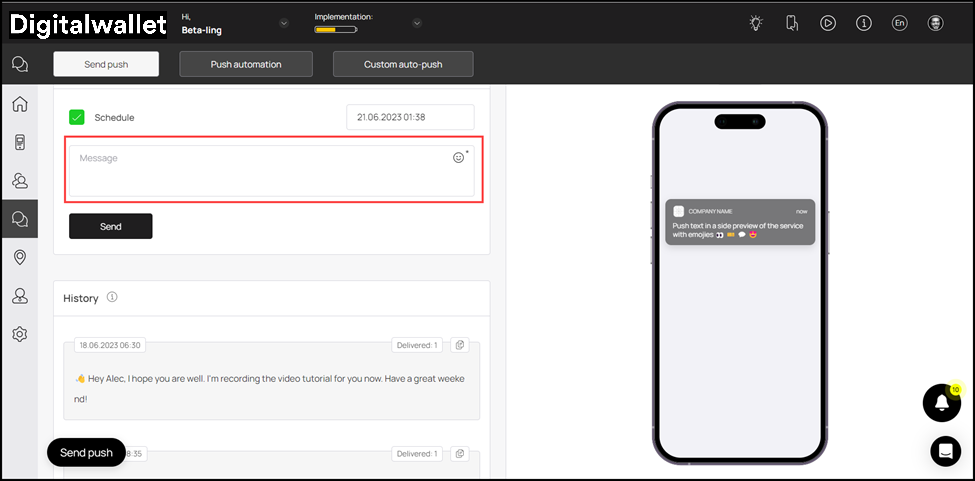
- Once the selections are made, click the Send button.
- This opens the Send Push popup with the selections you made displayed to you for review. To confirm, click the Send button.
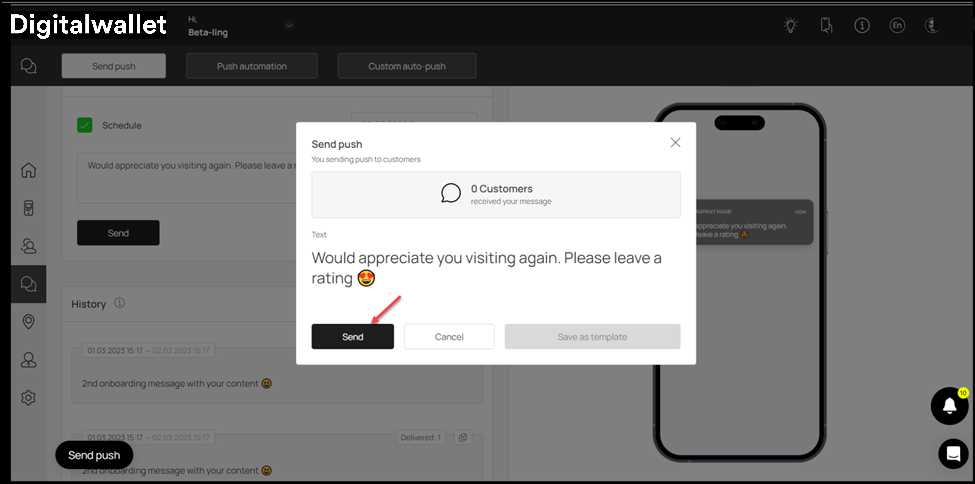
- This schedules the push notification and it is displayed in the History log.